The best GTA 6 controller settings for most players are simple: set Targeting to Partial, keep Aim Assist Strength at 4, raise look sensitivity to about 8, keep aim sensitivity around 6 to 7, lower both stick deadzones to 2 or 3 if your controller has no drift, and turn Camera Shake off. That combo makes the camera feel quicker without turning your crosshair jumpy.
These GTA 6 controller settings work on both PS5 and Xbox Series X|S, because Rockstar uses almost the same menu on each console. Below you’ll find every value, why it helps, and what to change if you play mostly story missions, gunfights, or races.
Key Takeaways
- Partial targeting with Aim Assist at 4 is the best starting point for Story Mode.
- Keep aim sensitivity one step below look sensitivity so you can turn fast but still land shots.
- Lower deadzones only until the camera starts drifting, then go back up one step.
- GTA 6 runs at 30 FPS on every console, so TV Game Mode and low latency matter more than 120Hz.
- On PS5, ease off adaptive trigger resistance for long gunfights to save your fingers.
GTA 6 Controller Settings at a Glance
Here are all the recommended GTA 6 controller settings in one table. Defaults are what the game ships with on a fresh install. Menu labels can shift slightly after patches, so if a name looks a little different on your screen, look for the closest match.
| Setting | Menu | Default | Recommended |
|---|---|---|---|
| Targeting | Gameplay | Partial | Partial |
| Aim Assist Strength | Gameplay | 4 | 4 |
| Shooting Assist | Gameplay | On | On |
| Horizontal Look Sensitivity | Controller | 7 | 8 |
| Vertical Look Sensitivity | Controller | 7 | 7 |
| Horizontal Aim Sensitivity | Controller | 7 | 7 |
| Vertical Aim Sensitivity | Controller | 7 | 6 |
| Look Acceleration | Controller | 7 | 6 |
| Aim Acceleration | Controller | 7 | 5 to 6 |
| Aim Response Curve | Controller | Standard | Standard (try Precision later) |
| Deadzone (Left and Right Stick) | Controller | 4 | 2 to 3 |
| Camera Shake | Camera | On | Off |
| Motion Blur Strength | Display | Varies | 0 or 1 |
Best Aim and Targeting GTA 6 Controller Settings
Open Settings > Gameplay. This tab holds the GTA 6 controller settings that decide how much the game helps you aim, and it has a bigger effect on gunfights than any sensitivity slider.
Targeting: Partial vs. Free Aim vs. Lock-On
GTA 6 gives you three targeting modes:
- Lock-On: pulling L2 or LT snaps straight to the nearest enemy. Easy, but it often grabs the wrong target in a crowd.
- Partial: you get the snap, then you control the crosshair yourself. It’s the sweet spot for most people.
- Free Aim: no snapping at all. Great for headshots once your sensitivity is dialed in, tough for your first week.
My pick is Partial. You still get help on the first lock, but you can flick up for a headshot instead of hitting body armor over and over. If you’ve played a lot of shooters on a controller, try Free Aim after you finish the first few story chapters.
Aim Assist, Shooting Assist, and Drive-By Assist
Keep Aim Assist Strength at 4 for Story Mode. Lower it only if you feel the crosshair pulling you off the target you actually wanted. Leave Shooting Assist and Drive-By Assist on unless you play pure Free Aim.
Here’s a detail a lot of players miss: switching Targeting to Free Aim doesn’t turn off Shooting Assist or Drive-By Assist. You have to switch those off yourself if you want zero help.
Best GTA 6 Sensitivity Settings for PS5 and Xbox
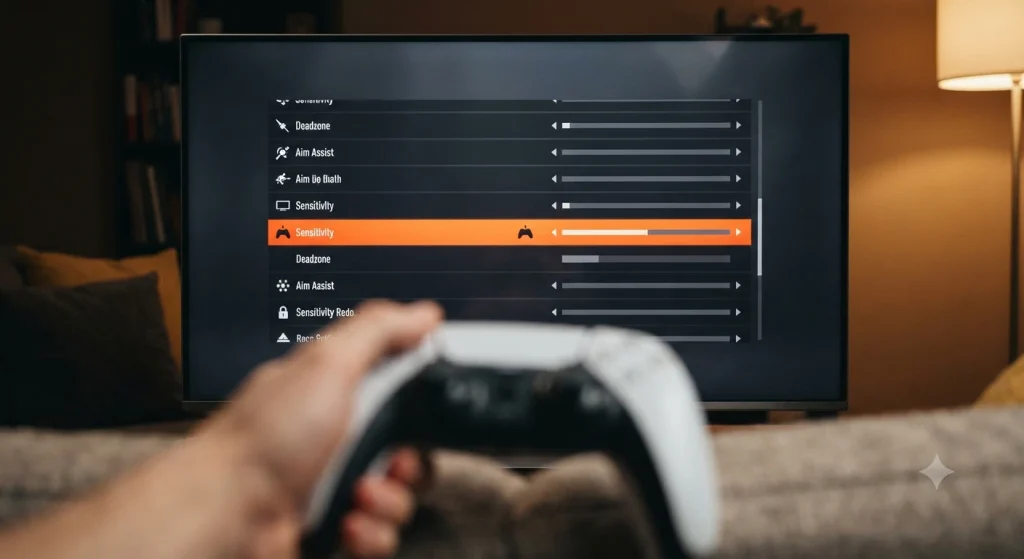
Go to Settings > Controller. Sensitivity is personal, but these GTA 6 controller settings give you a clean baseline that you can adjust one step at a time.
Look Sensitivity vs. Aim Sensitivity
Look sensitivity controls the camera when you’re not aiming. Aim sensitivity controls the crosshair while you hold L2 or LT. The default of 7 on both feels a bit slow when you spin around in traffic, so bump Horizontal Look Sensitivity to 8.
Keep aim sensitivity one step lower than look sensitivity. That way you can whip the camera around corners but still make small corrections on a target. If you keep sliding past enemies, drop aim by one. If tracking a moving car feels like dragging a shopping cart, raise it by one.
Acceleration and Aim Response Curve
Acceleration speeds up the camera the longer you hold the stick at full tilt. A lower Aim Acceleration (5 to 6) makes the crosshair more predictable, which helps a lot at 30 frames per second, since each frame shows a bigger jump in movement.
The Aim Response Curve options are Standard, Linear, Precision, and Aggressive. Start on Standard. After a few hours, try Precision, which slows small stick movements for finer aim. Linear feels the most “raw” and suits players coming from Call of Duty or Apex Legends with linear curves.
Stick Deadzone: Do a 10-Second Drift Test
The deadzone is one of the GTA 6 controller settings people skip, yet it decides how far you must push a stick before the game reacts. The default of 4 hides stick drift but adds a tiny delay. Here’s how to find your number:
- Set both deadzones to 2.
- Put the controller down on a flat table and watch the camera for 10 seconds.
- If the view creeps or slowly turns, raise the deadzone by one and test again.
A brand-new DualSense or Xbox Wireless Controller usually holds steady at 2 or 3. A controller that’s a couple of years old often needs 4 or 5. Hall-effect sticks on some third-party pads can go even lower.
GTA 6 Controller Settings for PS5 DualSense: Haptics and Adaptive Triggers
On PS5, Rockstar supports the DualSense’s haptic feedback, adaptive triggers, and built-in speaker, plus Tempest 3D Audio, as confirmed on the Rockstar Newswire. The trigger resistance feels great when you pull a shotgun trigger or brake hard. In a 20-minute shootout, though, your index finger will feel it.
- Vibration & Haptics Strength: 7 to 8 (default 10 can feel buzzy on long drives).
- Adaptive Triggers Resistance: On for story missions, Off for heavy combat or races.
- Adaptive Triggers Vibration: Off, so the trigger doesn’t rattle while you hold it.
- Touch Pad: keep it on Map for quick access.
You can also lower trigger strength for every game in the PS5 menu under Settings > Accessories > Controllers (General). Change Trigger Effect Intensity to Weak if you have hand fatigue, and turn the controller speaker down if it clashes with your headset.
GTA 6 Controller Settings for Xbox Series X|S
The GTA 6 controller settings on Xbox match the PS5 version, so use the same values from the table. Xbox players have one extra tool: the free Xbox Accessories app. It lets you remap buttons, swap sticks, and invert axes at the system level. If you own an Xbox Elite Series 2, you can also set stick tension and save a custom profile just for GTA 6. Microsoft explains the steps on Xbox Support.
One tip if you use an Elite: don’t stack a steep sensitivity curve in the Accessories app on top of a high in-game aim sensitivity. Pick one place to tune it, or your aim will feel unpredictable.
Camera and Display Settings That Make Aiming Easier
These aren’t technically GTA 6 controller settings, but they change how your inputs feel on screen.
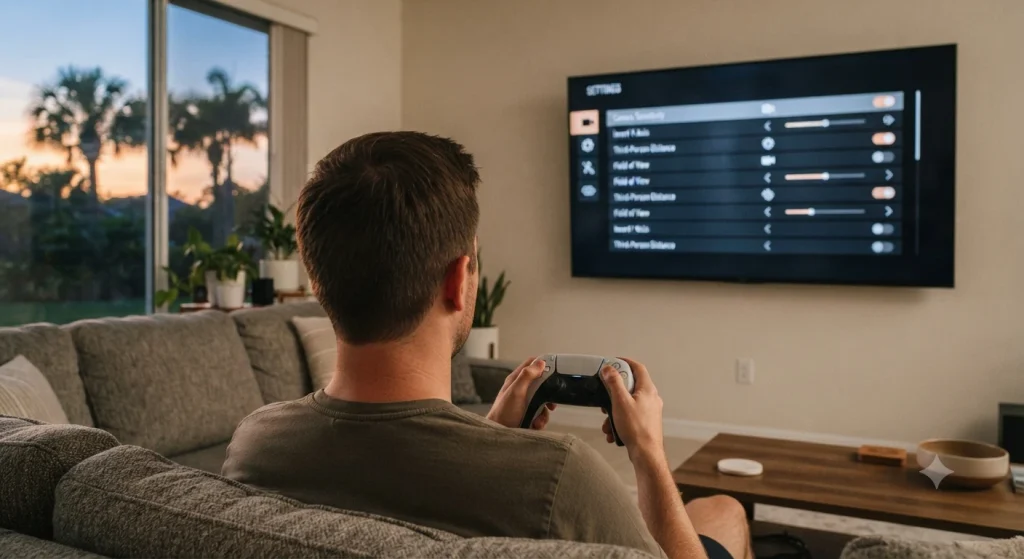
- Camera Shake: Off. Explosions and fast driving get much easier to read.
- Camera Bob: 0 to 2. Less head bob while running means a steadier crosshair.
- Camera Height (On Foot and Vehicles): High, so you can see over traffic.
- Motion Blur Strength: 0 or 1. Blur at 30 FPS smears targets when you turn.
- Subtitles: Medium or Large if you play from a couch 8 to 10 feet from the TV.
Best GTA 6 Controller Settings for Driving and Flying
Driving is half of GTA, so your GTA 6 controller settings for vehicles deserve a minute of setup. Turn Adaptive Speed Limiter off for races and missions where you need full throttle, and keep it on if you like cruising through Vice City at a steady speed. Set vehicle camera height to High so you can spot cops and corners earlier.
For planes and helicopters, check the Aircraft Movement inversion toggle. It’s on by default, separate from the other invert options. If you nose-dive the first time you push forward, switch it off.
PS5 and Xbox Console Settings to Change Outside the Game
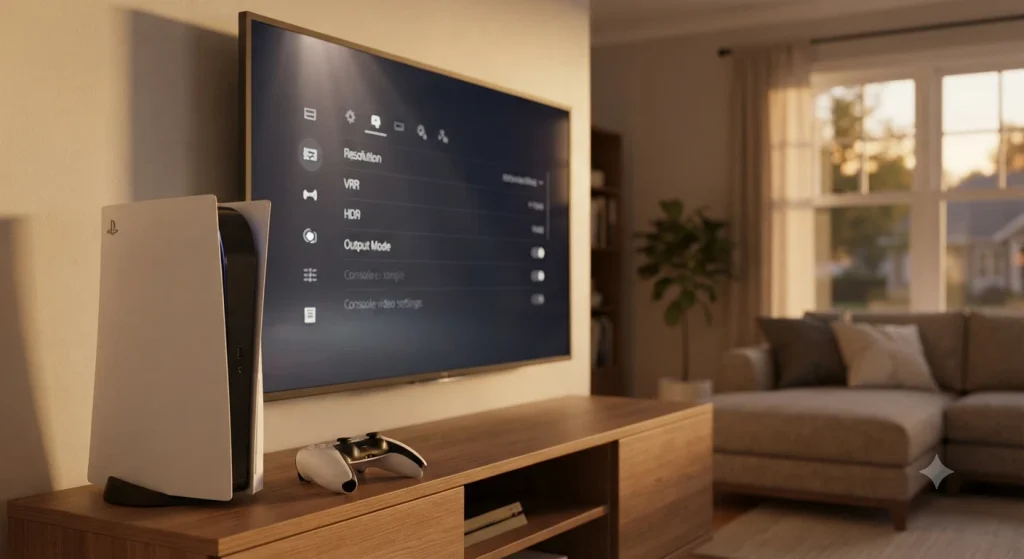
Rockstar has confirmed GTA 6 targets 30 FPS on PS5, PS5 Pro, and Xbox Series X|S. The PS5 Pro adds PSSR upscaling and ray-traced shadows, but no higher frame rate. That means input lag from your TV matters more than usual, and no in-game GTA 6 controller settings can fix a slow TV. Fix it at the source:
| Setting | PS5 | Xbox Series X|S |
|---|---|---|
| Where to find it | Settings > Screen and Video > Video Output | Settings > General > TV & display options |
| HDR | On When Supported | Enable HDR10 |
| HDR calibration | Adjust HDR | Calibrate HDR for games |
| Low latency | ALLM on (if your TV supports it) | Allow auto-low-latency mode |
| TV picture mode | Game Mode, with motion smoothing off | |
Game Mode alone can cut the TV’s own processing delay noticeably on many sets from Samsung, LG, Sony, and TCL. At 30 FPS, that’s the easiest way to make your controller feel snappier. If you want the full rundown on how the game runs, read our GTA 6 review.
GTA 6 Controller Settings by Playstyle
Not everyone wants the same GTA 6 controller settings. Pick the column that matches how you play, then fine-tune.
| Setting | Casual Story | Balanced (Recommended) | Free Aim Shooter |
|---|---|---|---|
| Targeting | Lock-On | Partial | Free Aim |
| Aim Assist Strength | 4 | 4 | Off |
| Look Sensitivity | 7 | 8 | 9 |
| Aim Sensitivity | 6 | 7 | 7 |
| Aim Response Curve | Standard | Standard | Precision or Linear |
| Deadzone | 4 | 3 | 2 |
| Adaptive Trigger Resistance (PS5) | On | On | Off |
Once your aim feels right, you’ll want to put it to work. Our guide on how to get safe codes in GTA 6 covers the heists and lockboxes where clean shooting pays off, and our breakdown of the GTA 6 Focus feature explains the slow-down system that pairs nicely with Partial targeting.
Set It Up Once, Then Adjust One Slider at a Time
Start with the Balanced column, play one full mission, and change only one setting at a time. Most players land on their final GTA 6 controller settings within an hour. Write your numbers down (or snap a photo of the menu), because a big patch or a fresh install can reset them. For more on the game itself, check Rockstar’s official Grand Theft Auto VI page, and if you’re saving up for that first Vice City supercar, our tips on making money fast in GTA Online show how Rockstar’s money loops usually work.
Frequently Asked Questions
What are the best GTA 6 controller settings?
The best GTA 6 controller settings for most players are Partial targeting, Aim Assist Strength 4, look sensitivity 8, aim sensitivity 7, Aim Response Curve on Standard, and stick deadzones of 2 to 3. Turn Camera Shake off and set Motion Blur to 0 or 1 for a clearer, steadier view during gunfights.
Should I use Free Aim or Partial in GTA 6?
Use Partial if you’re new to GTA or want story missions to feel smooth. It snaps to an enemy, then lets you move the crosshair for headshots. Free Aim is better only after your sensitivity is tuned and you’re comfortable tracking targets yourself. Remember to switch off Shooting Assist for true Free Aim.
Does GTA 6 run at 60 FPS on PS5 Pro?
No. Rockstar confirmed GTA 6 targets 30 FPS on PS5, PS5 Pro, and Xbox Series X|S. The PS5 Pro gets PSSR upscaling and ray-traced shadows for sharper visuals, not a higher frame rate. To make controls feel more responsive, enable your TV’s Game Mode and auto low latency mode instead.
How do I fix stick drift in GTA 6?
Go to Settings, then Controller, and raise the stick deadzone one step at a time until the camera stops moving while you’re not touching the stick. Start at 2 and test for 10 seconds on a flat table. If you need 6 or higher, the stick is worn and a repair or replacement is worth it.
Can I turn off adaptive triggers in GTA 6 on PS5?
Yes. In your GTA 6 controller settings, switch Adaptive Triggers Resistance and Adaptive Triggers Vibration off. You can also reduce trigger effects for every game on PS5 under Settings, Accessories, Controllers (General), Trigger Effect Intensity. Many players keep resistance on for story missions and turn it off for long gunfights.