The best Minecraft house ideas for survival are the ones you can finish before your first night ends: a 7×7 wood cabin on a cobblestone base, a house dug into a hillside, or a lit, walled compound once you have stone to spare. Start small, light everything, and upgrade in stages. Below are nine builds ranked from day-one shelters to late-game bases, plus the safety rules that matter more than looks.
Key Takeaways
- Your first house should take under one Minecraft day (20 real minutes) to build. A 7×7 cabin is the sweet spot.
- Hostile mobs in the Overworld only spawn at block light level 0, so one torch or lantern per dark corner keeps your house mob-free.
- Build with cobblestone or stone where creepers can reach. Stone has twice the blast resistance of wood planks.
- Hillside and underground builds save the most materials because the terrain already gives you walls and a roof.
- Add a perimeter wall with a lip on top, and spiders, zombies, and creepers stop being your problem.
What Makes a Good Minecraft Survival House?
A good Minecraft survival house does four jobs. It keeps mobs out, stores your stuff, gives you a bed to skip the night, and sits close to the resources you use every day. Everything else (the fancy roof, the window trim) is a bonus you can add later.
After a lot of hardcore and regular survival worlds, here’s the checklist I use before I place a single block:
- Location: Flat ground near trees, water, and an exposed cave or hillside for stone and coal.
- Size: Room for a bed, crafting table, furnace, and at least four chests. That fits in a 5×5 interior.
- Light: Every block inside and within about 8 blocks outside should be lit.
- Doors: On Hard difficulty, zombies can break wooden doors. Use a fence gate, an iron door with a button, or a 2-block drop at the entrance.
- Room to grow: Leave space on one side for a farm and a later extension.
Best Minecraft House Ideas for Survival at a Glance
Here’s how the nine builds compare. Pick based on how far along your world is, not on what looks coolest in a screenshot.
| House idea | Difficulty | Main materials | Best for |
|---|---|---|---|
| 7×7 starter cabin | Easy | Logs, planks, cobblestone | Day one |
| Hillside house | Easy | Whatever the hill is made of | Saving materials |
| Underground bunker | Easy | Stone, torches | Hardcore and speed starts |
| Stone cottage | Medium | Cobblestone, stone bricks, spruce | Creeper-heavy areas |
| Walled farmhouse | Medium | Cobblestone, fences, lanterns | Long-term bases |
| Lake or moat house | Medium | Any blocks, water | Keeping mobs away |
| Stilt house | Medium | Logs, planks, ladders | Swamps and jungles |
| Village upgrade | Medium | Village blocks, beds | Trading and food |
| Mushroom island base | Hard to find | Any | Zero hostile spawns |
Easy Starter Builds for Your First Nights
1. The 7×7 Minecraft Starter House
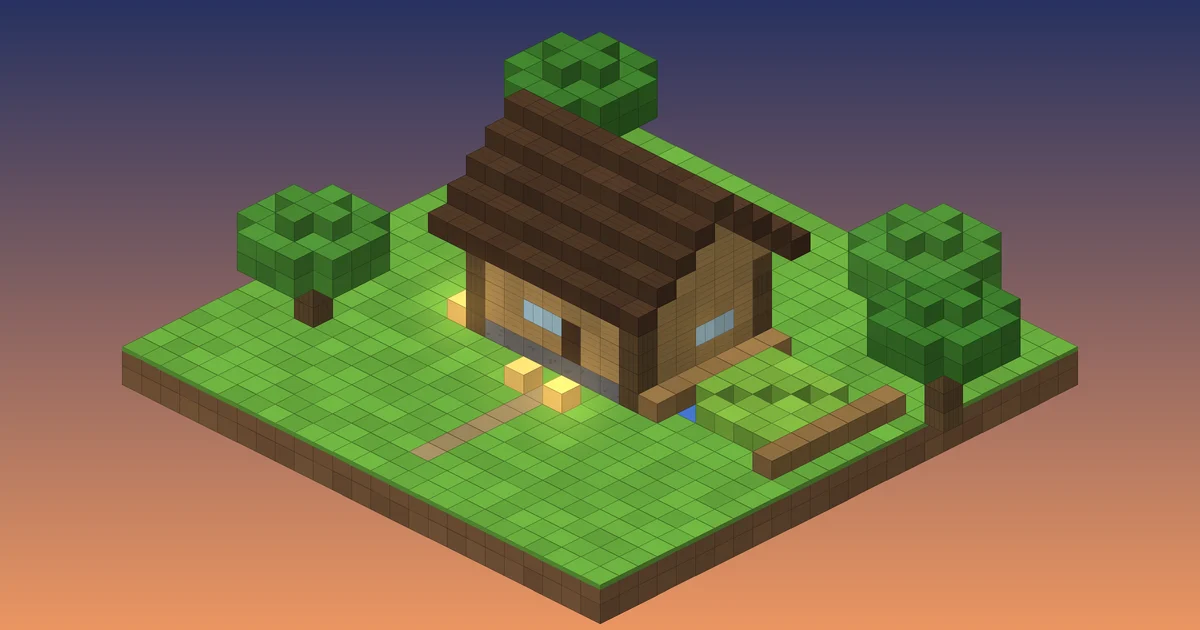
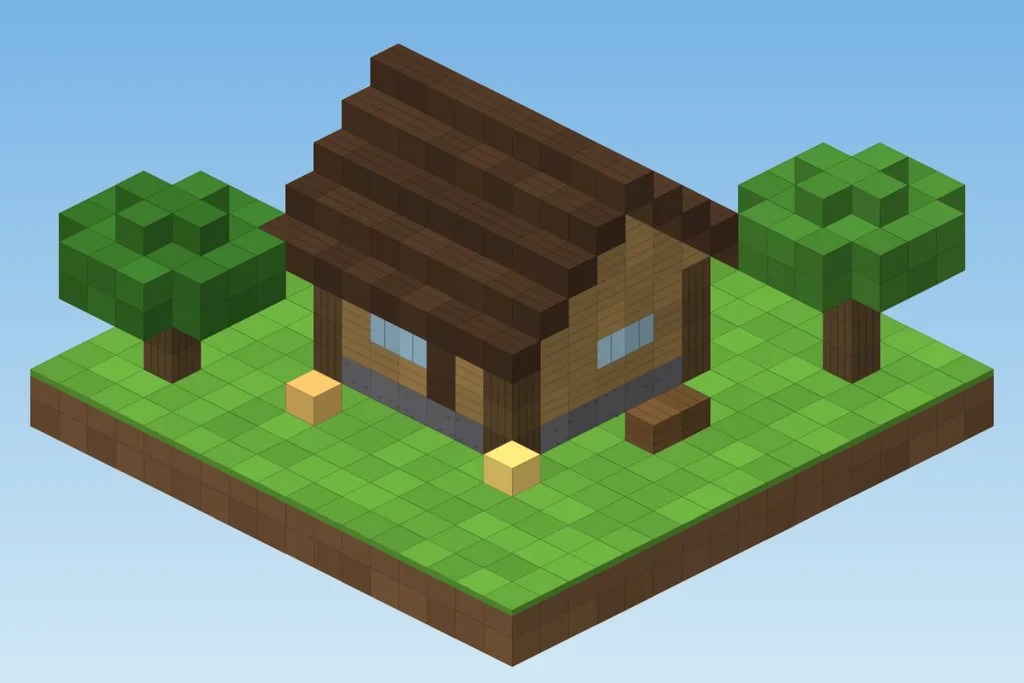
This is the build I make in almost every new world. Lay a 7×7 ring of cobblestone, put a log pillar on each corner, and fill the walls with planks four blocks high. Top it with a simple gable roof using stairs or slabs. Inside, you get a 5×5 room, which is plenty for a bed, a crafting table, two furnaces, and a row of chests.
Budget roughly two stacks of planks (about 32 logs) and a stack of cobblestone. Put the door on the side facing your farm, and add two windows so you can check for creepers before stepping outside. If you need help with the very first steps, our Minecraft for beginners guide covers tools and your first night.
2. The Hillside House
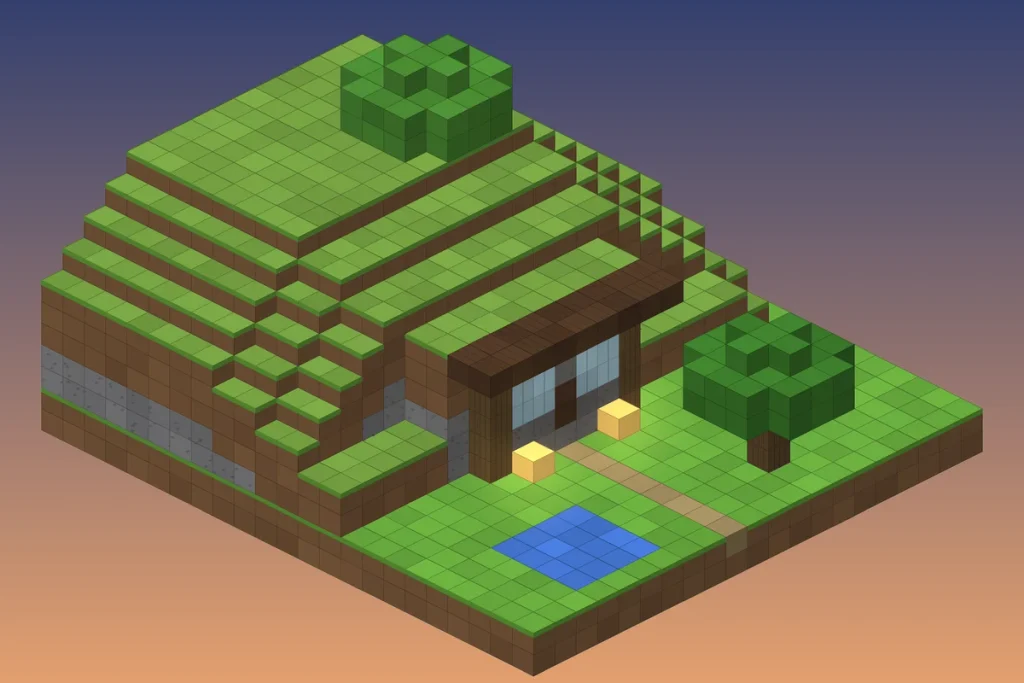
A hillside house is the most material-efficient build in the game. Find a steep hill or small mountain, dig a 5-wide, 6-deep room straight into it, and build only the front wall. The hill gives you the side walls, back wall, and roof for free, and you collect stone and coal while you dig.
The front looks great with a log frame, a row of glass, and a short overhang of stairs. Light the inside well, because any dark pocket you dug out can still spawn mobs. This one is my top pick if you want an easy Minecraft house that still looks good on day three.
3. The Underground Bunker
When night is coming fast and you have nothing, dig three blocks down, cover the hole, and place a torch. That’s a bunker. Expand it into a proper room over the next few days, with a staircase to the surface and a branch mine off the back wall.
Bunkers are popular in hardcore because nothing can reach you except through the one entrance. The tradeoff is that you can’t see what’s waiting outside, so add a glass skylight or a peek window by the stairs.
Stronger Survival Base Ideas for Mid-Game
4. The Stone Cottage
Once you have a stone pickaxe and a furnace, rebuild your starter house in stone. Cobblestone has a blast resistance of 6 compared to 3 for wood planks, so a creeper that sneaks up on you leaves a dent instead of a hole. Smelt cobblestone into stone, then craft stone bricks for a cleaner look.
Spruce planks and dark oak trim pair well with gray stone. A cottage with a stone base, stone brick walls, and a dark roof is the classic look you’ll see across most survival worlds and servers.
5. The Walled Farmhouse Compound
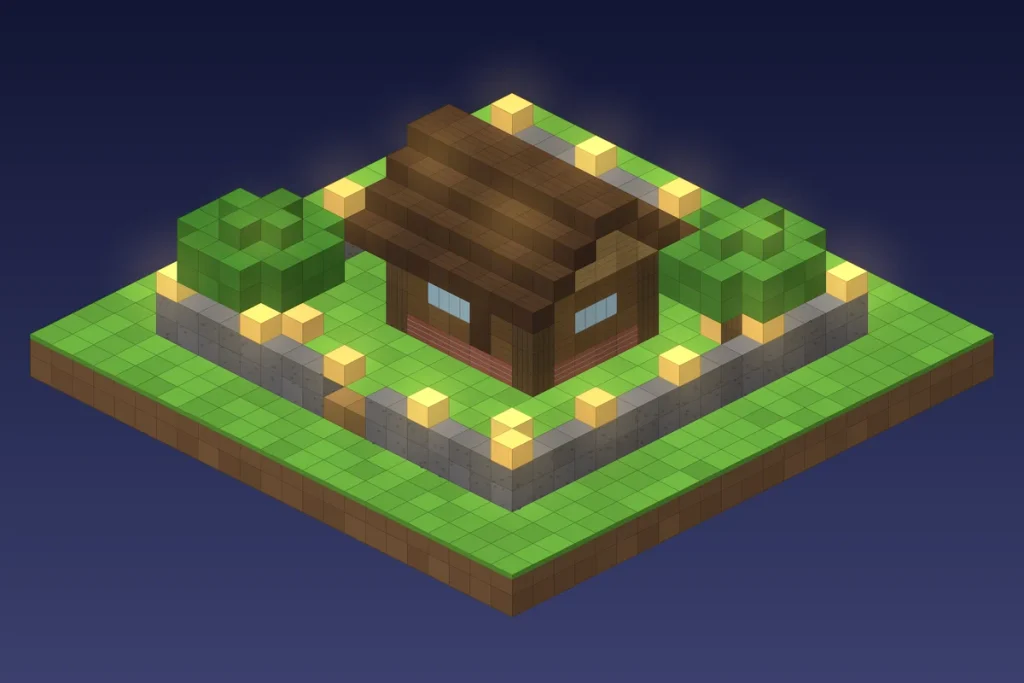
This is where survival gets comfortable. Build a cobblestone wall two blocks high around your house, farm, and animal pens, with a lantern on top every four or five blocks. Add a one-block overhang on the outside top edge so spiders can’t climb over.
Inside the wall, you can walk around at night without armor. Use a fence gate or a two-wide gate with an iron door, and your farm and animals stay safe too.
6. The Lake or Moat House
Build on a small island in a lake, or dig a two-block-wide, two-deep moat around your house. Zombies, skeletons, and creepers that wander into deep water get pushed around by the current and rarely reach your walls. Add a drawbridge-style entrance with a single trapdoor or a narrow bridge you can block off.
One warning: drowned can spawn in river and ocean water, so build your moat two blocks deep, not ten, and keep the banks well lit.
7. The Stilt House
In swamps, mangrove areas, and jungles, ground space is a mess. Raise your house five or six blocks on log pillars and climb in with a ladder. Mobs at ground level can’t reach you, and you get a great view of the area.
Light the ground under the house as well, since that shaded area is a perfect spawning spot.
Late-Game and Creative Survival Base Ideas
8. The Village Upgrade
Spawn near a village? Claim one of its houses, light the whole village, and wall it in. You get free beds, crops, and villagers to trade with, which means early access to enchanted books and cheap food. Our guide on how to get villagers to breed in Minecraft shows how to grow the population once you’ve secured it.
Rebuild village houses in stone over time. Villagers are fragile, and a single unlit corner on a busy night can wipe out your best trades.
9. The Mushroom Island Base
Mushroom fields are the one Overworld biome where hostile mobs don’t spawn naturally. If your world has one, it’s the safest real estate in Minecraft. They’re rare and usually far out in the ocean, so this is a mid-game project once you have a boat and a few days to explore.
The ground is mycelium, which is awkward for farming, so bring dirt for crops. Mobs can still come in through caves below or from a spawner, so it’s not a perfect shield.
Survival House Safety Rules That Matter More Than Design
The prettiest base in your world is useless if a creeper walks through the door. These rules apply to every build above.
- Light level 0 is the danger line. Since the 1.18 update, Overworld hostile mobs only spawn in total block darkness. A torch gives off light level 14 and a lantern 15, so a few go a long way. The Minecraft Wiki spawn-proofing guide explains the exact rules if you want the details.
- Use slabs or glass for big floors. Mobs can’t spawn on bottom slabs or glass, which is handy for rooftops and large halls.
- Sleep every few nights. Phantoms start spawning once you go three in-game days without sleeping. A bed by the door makes this a habit.
- Keep a cat. Creepers avoid cats, and phantoms stay away from them too. Tame one with raw cod or salmon.
- Never sleep in the Nether or the End. Beds explode in both dimensions.
How to Plan Your Survival House Layout
Good bases grow in rings. Put your bed, chests, and crafting area in the center room. Wrap the farm and animal pens around it next, then the enchanting and storage rooms, and finally the outer wall.
When you’re ready for gear upgrades, set aside a 5×5 room for an enchanting table with 15 bookshelves around it. Our walkthrough on how to make an enchanting table in Minecraft covers the exact level 30 layout. Leave a spot for a Nether portal a short walk from your door, too, since you’ll use it constantly once you start trading for blaze rods and ancient debris.
For new block palettes and features, check the official Minecraft site after each game drop. Recent drops keep adding decorative blocks that work well in survival houses.
Start Building Tonight
Pick the build that matches where you are right now. If it’s your first day, go with the 7×7 cabin or a hillside house, light every corner, and get a bed down before sunset. Once you have stone and iron, upgrade to a stone cottage and wall it in. That simple sequence works in any world, Java or Bedrock, and it leaves you free to spend your time exploring instead of rebuilding.
Frequently Asked Questions
What is the easiest house to build in Minecraft survival?
The easiest survival house is a hillside house. Dig a small room into a hill or mountain and build only the front wall with a door and windows. The terrain gives you walls and a roof, so you need very few materials. Light the inside fully, and you have a safe shelter in a few minutes.
What is the best block to build a survival house with?
Cobblestone and stone bricks are the best all-round choices. They’re easy to mine, have a blast resistance of 6, and hold up far better against creepers than wood. Many players use stone for the base and lower walls, then wood planks and logs for the upper walls and trim to save time.
How big should a Minecraft survival house be?
Start with a 7×7 outer footprint, which gives a 5×5 room inside. That fits a bed, crafting table, furnaces, and several chests. Build bigger once you have steady stone and iron. Oversized early houses take too long, leave dark corners where mobs spawn, and use materials you need for tools.
How do I stop mobs from spawning in my house?
Light every block. In current versions, Overworld hostile mobs only spawn at block light level 0, so any torch or lantern nearby stops spawns on that spot. Place lights inside, on the roof, and around the outside. Using slabs or glass for floors and roofs also prevents mobs from spawning on them.
Can zombies break doors in Minecraft?
Yes, but only on Hard difficulty. Zombies can break wooden doors on Hard, which is why many survival players use iron doors with a button, fence gates, or a raised doorway. On Easy and Normal, a wooden door is safe from zombies, though creepers and other mobs remain a threat.